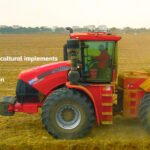
A combine harvester may remain parked for several months and then be expected to work long days as soon as the crop is ready. That sudden change from storage to full workload is where many avoidable problems begin.
A cracked belt, blocked radiator, loose chain or damaged hydraulic hose may look minor in the workshop. During harvest, the same issue can stop the machine at the worst possible time. Delays are especially costly when rain is approaching, grain moisture is changing or several fields must be completed within a short harvest window.
Pre-season maintenance should therefore be more than an oil change and a quick engine start. The machine needs to be inspected as one complete harvesting system, beginning at the header and continuing through feeding, threshing, cleaning, grain handling and unloading.
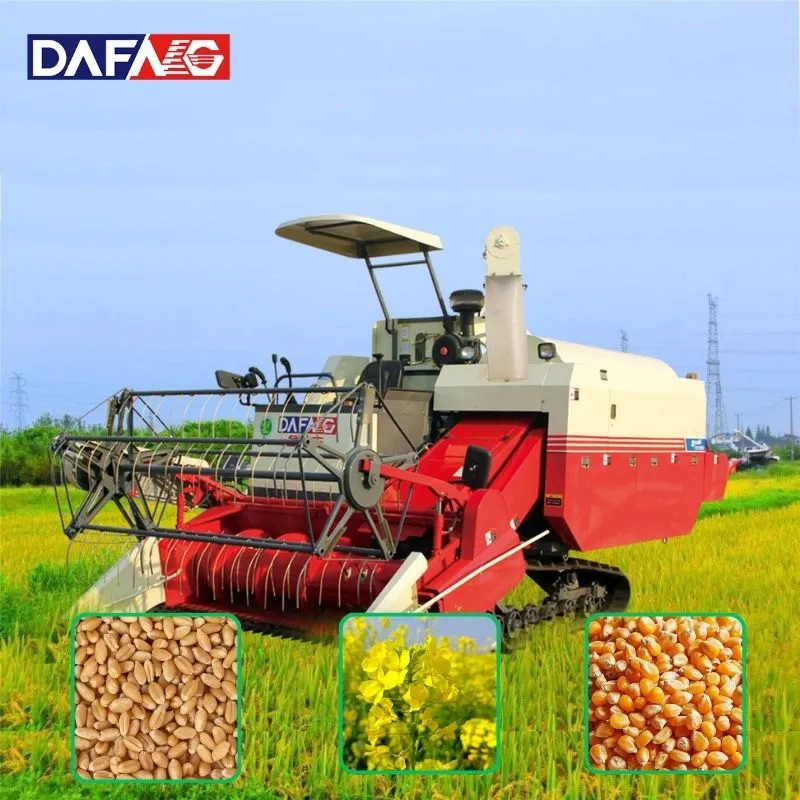
This checklist is intended for farmers, contractors, dealers and importers preparing a combine harvester for the coming season. It can be used for machines working in wheat, rice, soybean and other grain crops, although the exact parts and adjustment procedures will vary by model.
Why Pre-Season Maintenance Deserves More Time
Many harvest breakdowns do not start on the day the machine stops. They begin earlier with a worn bearing, an incorrectly tensioned chain, a small oil leak or a cooling system that has slowly filled with dust.
When these warning signs are found before the season, the repair can usually be planned. Parts can be ordered, technicians can work without pressure and the machine can be tested properly. When the same fault appears in the middle of harvest, the owner may have to accept expensive transport, emergency freight and several days of lost work.
Storage can create its own problems
A combine that worked well at the end of last season may not be ready to return directly to the field. Moisture can affect electrical connections, rodents may damage wiring, rubber components may harden and fuel systems can collect contamination during storage.
Dust, straw and crop residue left inside the machine can also hold moisture against metal surfaces. In some cases, these materials become a fire risk when the machine starts working in dry conditions.
Small faults become larger under full load
A workshop test does not place the same load on the combine as a heavy wheat crop or damp rice field. Components that appear normal at idle may overheat, slip or vibrate when the feeder, threshing system and unloading auger begin working together.
For this reason, inspection should be followed by a controlled field test. Maintenance is not complete until the machine has processed crop and the operator has checked the result.
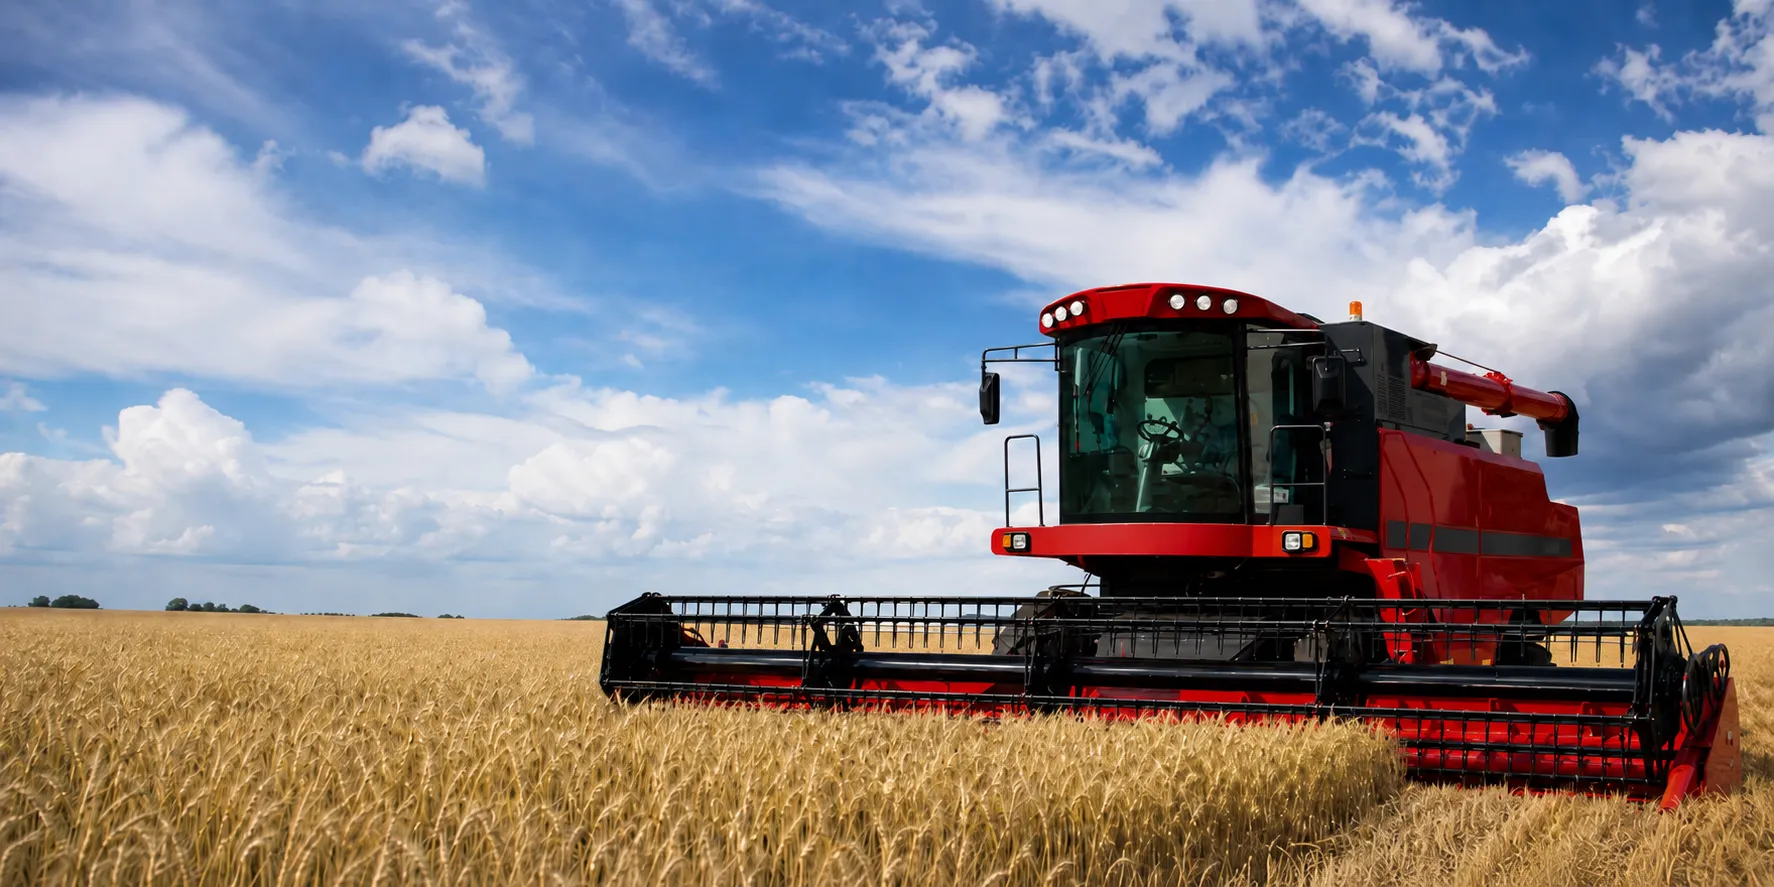
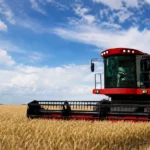
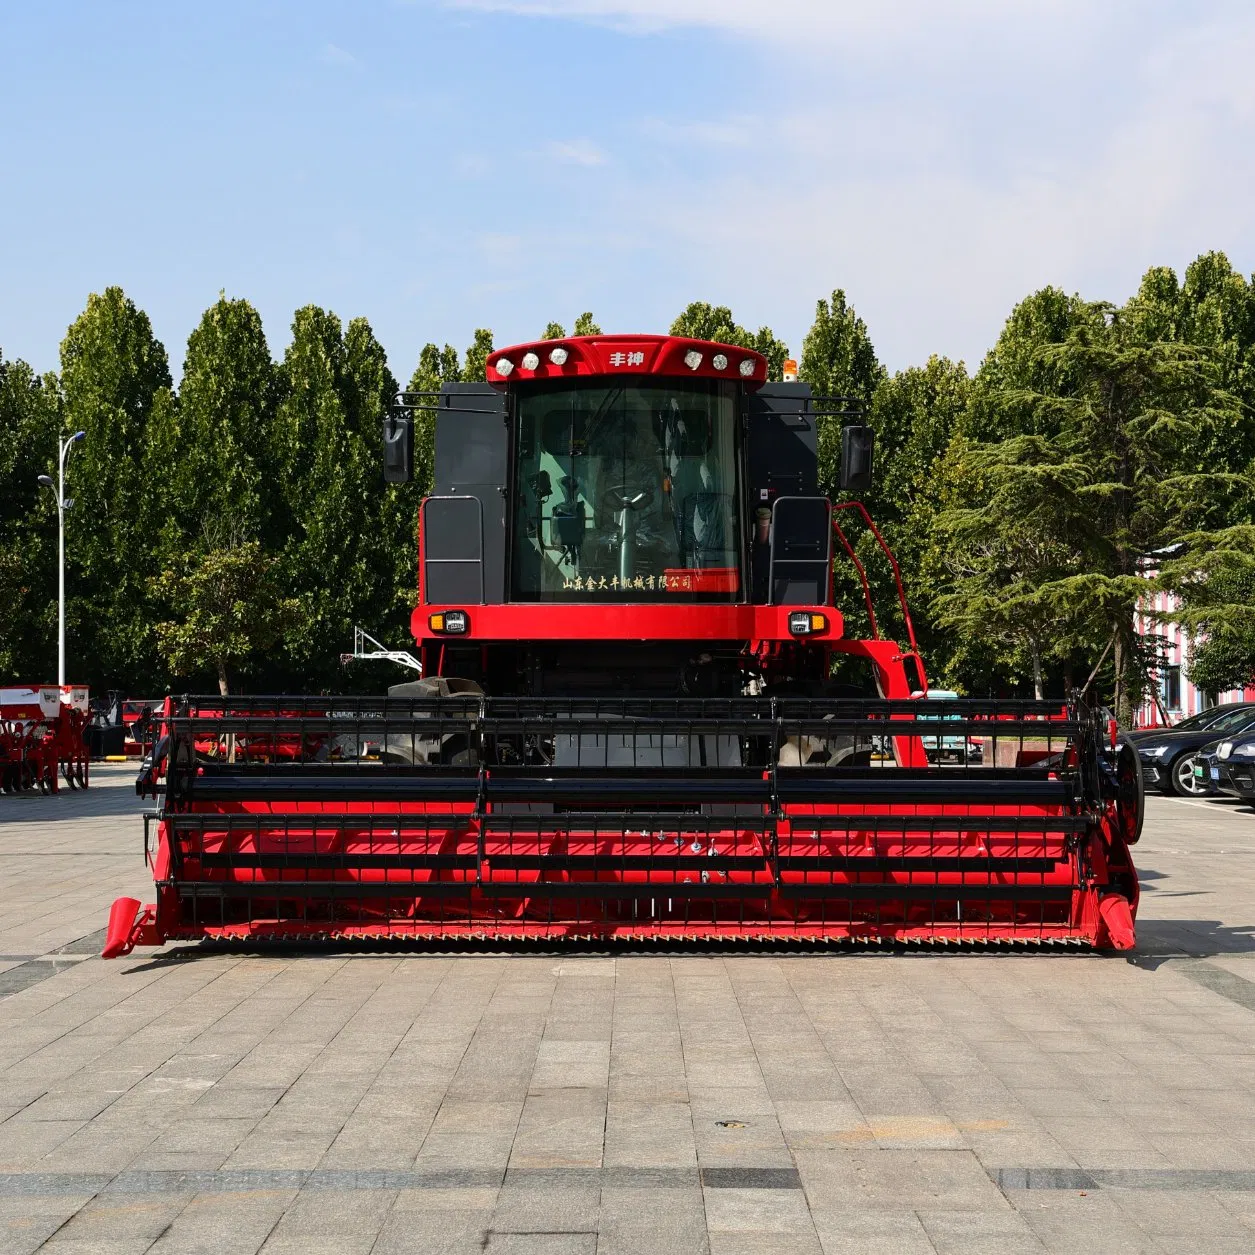
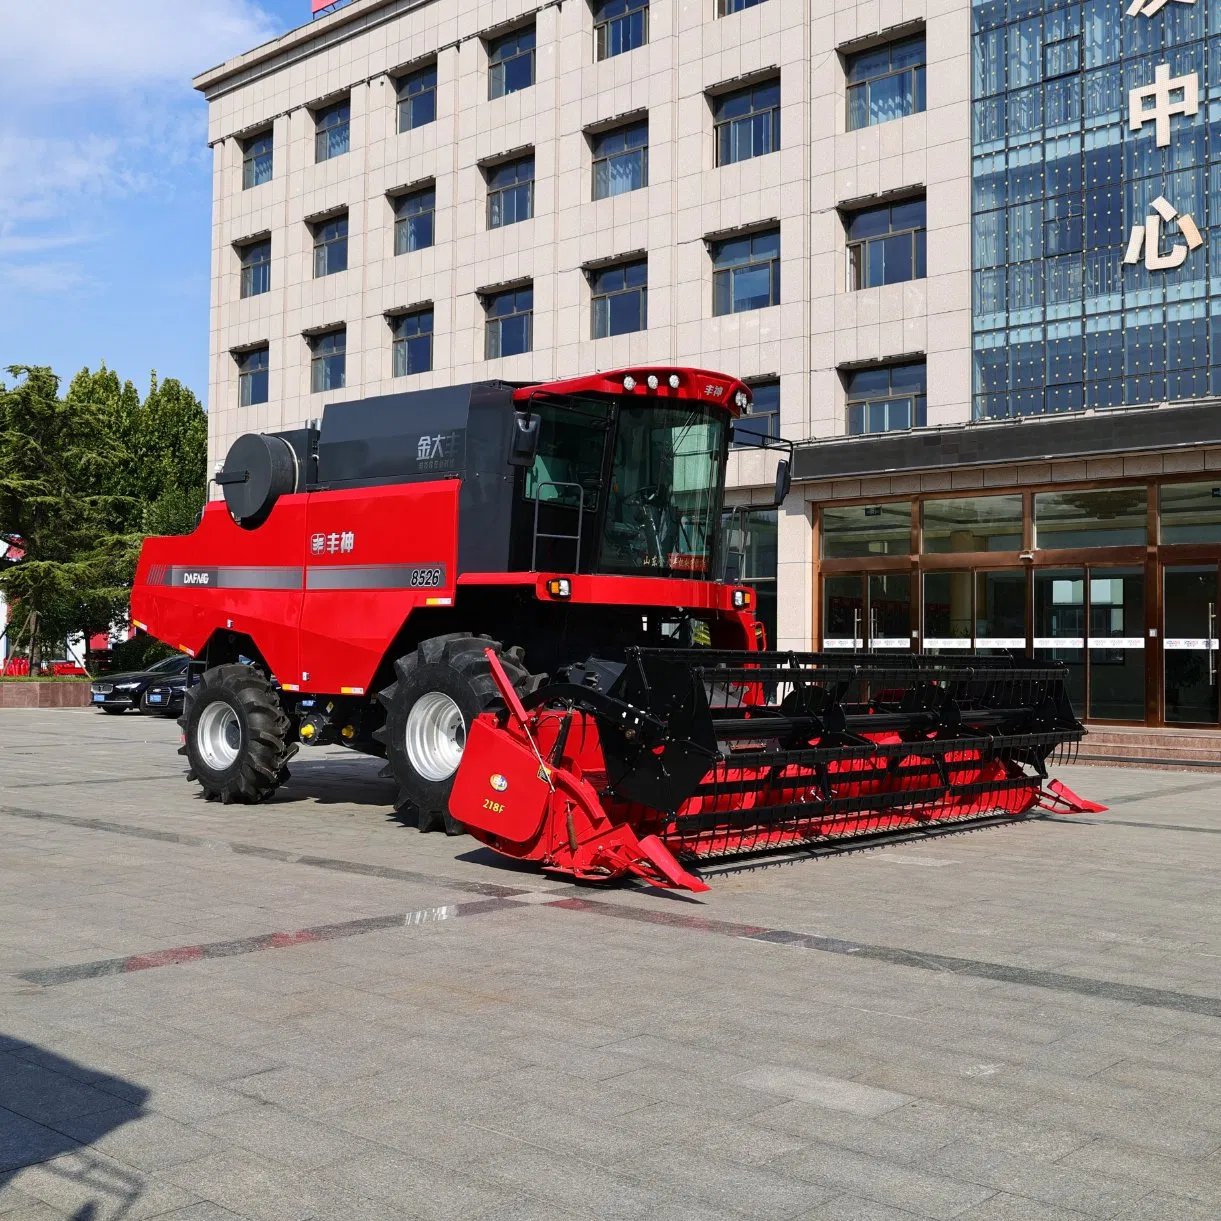
Inspect the Main Harvesting Systems
The most practical inspection order follows the direction of crop flow. Start at the cutting platform, move through the feeder house and threshing system, and finish at the cleaning shoe and grain handling components.
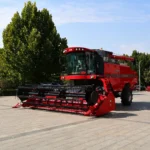
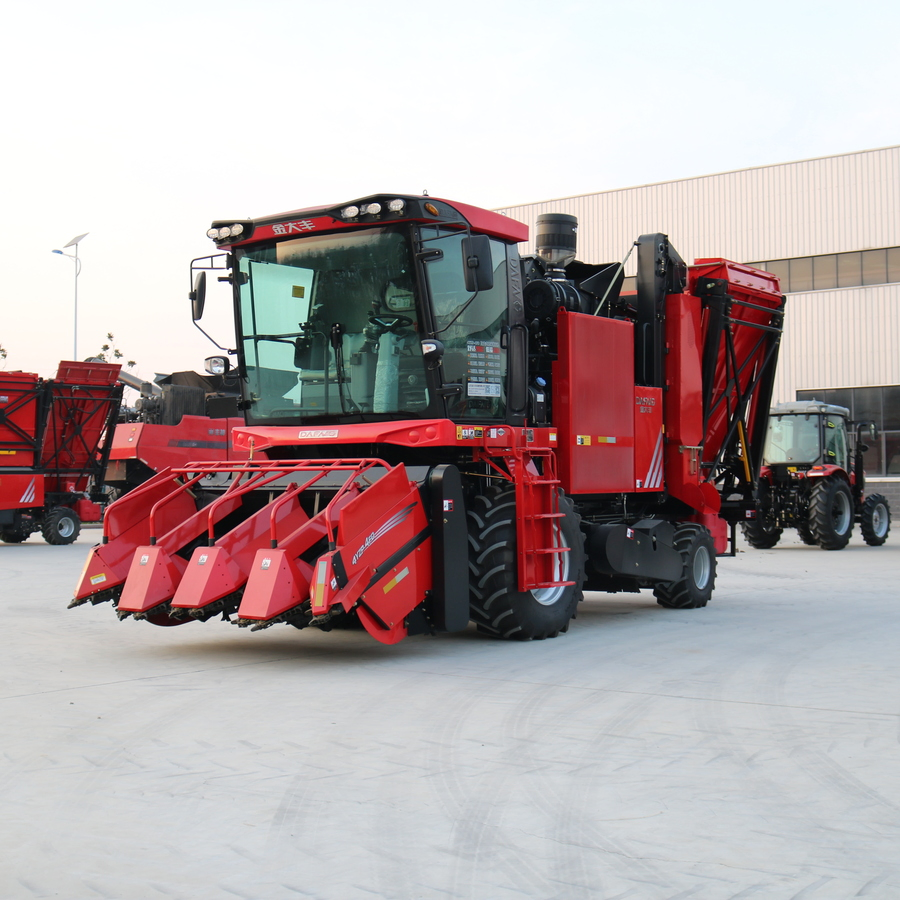
Header and cutting components
Begin with the cutter bar. Inspect knife sections for cracks, missing teeth and excessive wear. Damaged sections may still move, but they often pull or tear the crop instead of cutting it cleanly.
Check guards, hold-down clips, wear plates and knife alignment. The knife should move freely without excessive vertical movement. A poorly adjusted cutter bar increases vibration and can contribute to header loss, especially in dry wheat or soybean.
The reel should turn smoothly and remain straight across its full width. Look for bent fingers, damaged bats, loose bearings and hydraulic leaks. Confirm that reel speed, height and fore-and-aft movement respond correctly from the operator controls.
Inspect the header auger, flighting and retractable fingers. Worn or bent feeding components can cause the crop to enter the feeder house in uneven bunches. This reduces threshing stability even when the rest of the machine is correctly adjusted.
Feeder house and crop flow
Open the feeder house inspection points and check the conveyor chain or slats. Look for bent bars, loose hardware and uneven chain tension. Both sides should carry the crop evenly.
Inspect the feeder floor for wear, cracks or material buildup. Crop residue around the drum, sprockets or bearings should be removed before the machine is operated.
Turn the feeder slowly by hand or according to the manufacturer’s safe service procedure. Listen for scraping and check that the chain does not contact the housing incorrectly.
If the machine has a reversing function, test it before entering the field. A blocked feeder is not the right time to discover that the reversing system does not work.
Threshing and separation parts
The threshing area works under high load, so wear here can affect capacity, grain quality and fuel consumption.
Inspect the cylinder, rotor, rasp bars, concaves and separator components according to the machine design. Unevenly worn parts can create vibration and inconsistent threshing. Check for loose bolts, cracks and damage caused by stones or foreign material from the previous season.
Make sure concave adjustment mechanisms move freely through their full range. Operators may need to change clearance several times as crop moisture and maturity vary.
Inspect straw walkers, separator grates or rotor cages for damaged sections and blocked openings. Restricted separation area can carry grain out with the straw even when threshing appears complete.
Buyers comparing new grain harvesting equipment should also consider how easily these components can be inspected and replaced. Good service access saves considerable time during the harvest season.
Cleaning system and grain handling
Remove old grain, chaff and dirt from the cleaning shoe. Check upper and lower sieves for bent louvers, cracks and blocked openings. The adjustment mechanism should move evenly across the full sieve.
Inspect the fan blades and housing. Damaged blades can create vibration and uneven airflow. Make sure air passages are clear and that the fan speed adjustment works properly.
Check the clean grain elevator and return elevator. Inspect chains, paddles, sprockets and housings for wear. Loose or damaged elevator parts may reduce capacity or contaminate the grain sample.
Examine the grain tank, cross augers and unloading auger. Thin metal, worn flighting or loose bearings should be repaired before the tank is filled under working conditions.
Check the Engine, Drive System and Hydraulics
Harvesting components receive most of the attention, but the machine also depends on reliable engine cooling, power transmission and hydraulic control.
Engine, cooling and fluids
Check the engine oil level and replace the oil and filter if required by the service schedule. Inspect fuel filters, water separators and air filters. A dirty air filter can reduce engine performance during dusty harvesting work.
Clean the radiator, intercooler, oil cooler and air-conditioning condenser. Use the correct cleaning method so the fins are not damaged. Crop dust often collects between cooling layers where it is difficult to see from the outside.
Inspect coolant level, hoses, clamps and the condition of the fan belt. Look for dried coolant marks around connections, which can indicate a slow leak.
Start the engine and listen carefully. Unusual knocking, belt noise, smoke or unstable idle should be investigated before the machine is placed under load.
Belts, chains and bearings
Combines use many belts and chains to transfer power. A visual inspection should cover the entire machine rather than only the most accessible drives.
Look for cracked belt surfaces, polished sidewalls, missing sections and oil contamination. Check pulley alignment and confirm that tensioners move freely.
Chains should be cleaned, lubricated where required and adjusted to the correct tension. Excessively tight chains increase bearing load, while loose chains can jump sprockets or damage nearby components.
Rotate bearings where practical and check for roughness, looseness or unusual noise. After a test run, use safe inspection procedures to check for abnormal heat around bearing housings.
Hydraulics, electrical systems and safety equipment
Inspect hydraulic hoses for cracks, rubbing, swelling and damaged outer covers. Pay close attention to hoses near moving components, sharp edges and hot engine areas.
Check cylinders and fittings for leakage. Test header lift, reel movement, steering and unloading functions. Hydraulic movements should be smooth and controlled.
Inspect the battery, terminals, wiring harnesses, lights, sensors and displays. Repair damaged insulation and clean corroded connections. Warning lights and alarms should be tested rather than assumed to be working.
Do not overlook safety items. Confirm that guards, shields, ladders, handrails, mirrors, cameras, fire extinguishers and emergency stops are in place and usable.
Prepare the Machine for Its First Field Test
After the mechanical inspection is complete, the combine should be tested in stages. Going directly from the workshop to full-speed harvesting can hide problems until the machine is heavily loaded.
Run the machine without crop
Start the engine and allow the machine to reach operating temperature. Engage the header and threshing systems at a low speed before moving to normal operating speed.
Listen for vibration, rubbing, chain slap and bearing noise. Watch the instrument panel for temperature, oil pressure or electrical warnings.
Cycle the header lift, reel adjustments, unloading auger and other hydraulic functions. Stop the machine safely and inspect for fresh oil leaks, loose fasteners and overheated components.
Check the first pass carefully
When the crop is ready, begin with a moderate ground speed. Avoid trying to achieve maximum output immediately.
After the first full pass, inspect four areas:
- The standing crop before harvesting.
- The ground directly behind the header.
- The residue behind the rear of the combine.
- The grain sample inside the tank.
This inspection helps separate header loss from threshing or cleaning loss. It also shows whether grain is being damaged or whether too much chaff is reaching the tank.
Adjust one setting at a time. Changing forward speed, fan speed and concave clearance together makes it difficult to identify the real cause of a problem.
Record the starting settings
Write down the crop, moisture condition, header height, ground speed, cylinder or rotor speed, concave clearance, fan speed and sieve settings.
These records become useful references later in the day and in future seasons. They are particularly valuable for contractors working across several farms or dealers training customers on a new machine.
| Inspection Area | What to Check | Possible Result if Ignored |
|---|---|---|
| Cutter bar | Knives, guards and alignment | Poor cutting and increased header loss |
| Feeder house | Chain tension and slat condition | Uneven feeding and blockage |
| Threshing system | Wear, clearance and damaged parts | Unthreshed or broken grain |
| Cleaning shoe | Fan, sieves and blocked openings | Dirty grain or rear loss |
| Cooling system | Radiator, filters and coolant | Engine overheating |
| Belts and chains | Wear, tension and alignment | Drive failure during harvest |
| Hydraulics | Hoses, fittings and cylinders | Loss of machine functions |
Prepare Spare Parts Before the Harvest Window Opens
A good maintenance plan includes parts preparation. Not every component must be stored locally, but common wear parts should not depend on emergency international shipping.
Essential wear parts for machine owners
The exact list depends on the model, annual working hours and local service availability. A practical starting package may include:
- Engine, fuel, hydraulic and air filters.
- Main drive belts and commonly used secondary belts.
- Chains, connecting links and selected sprockets.
- Knife sections, guards and cutting hardware.
- Common bearings and seals.
- Hydraulic hoses or repair fittings.
- Electrical fuses, relays and selected sensors.
- Auger fingers, elevator paddles and other crop-contact parts.
Parts should be stored in a dry, clearly labeled location. The operator should know which items are available before harvest begins.
Planning for dealers and importers
Dealers need to think beyond one machine. They should review which parts are shared across different models and which components are specific to a particular header or threshing configuration.
Before importing a machine, request the parts catalog, service schedule, wiring diagrams and a recommended stock list from the manufacturer. Confirm part numbers and expected delivery times.
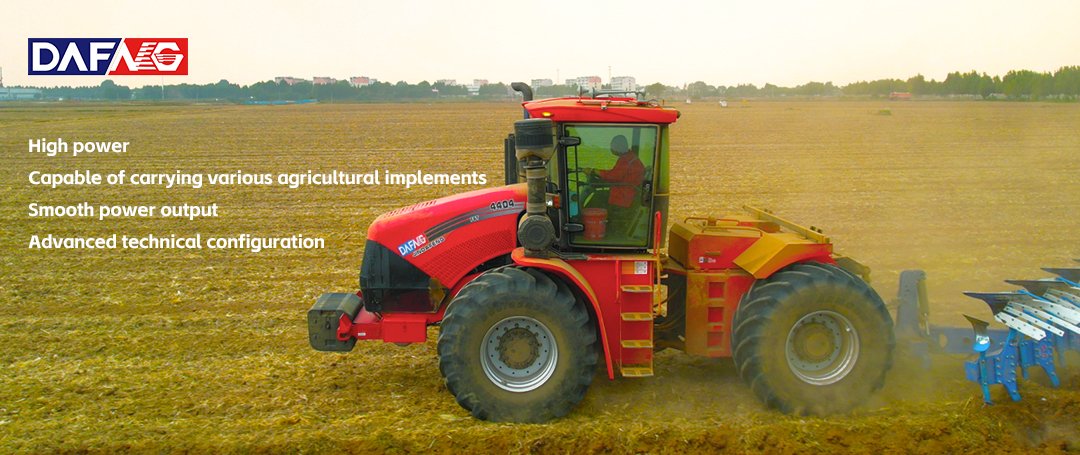
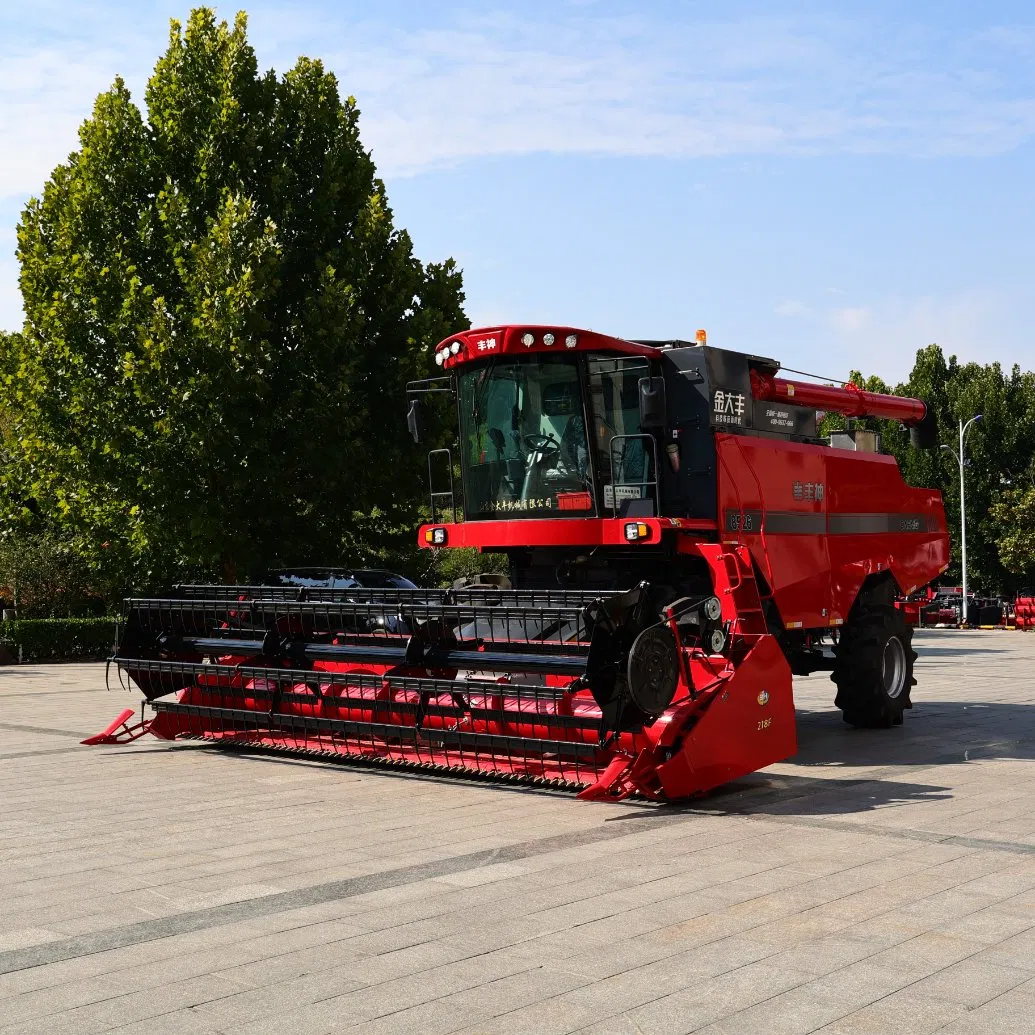
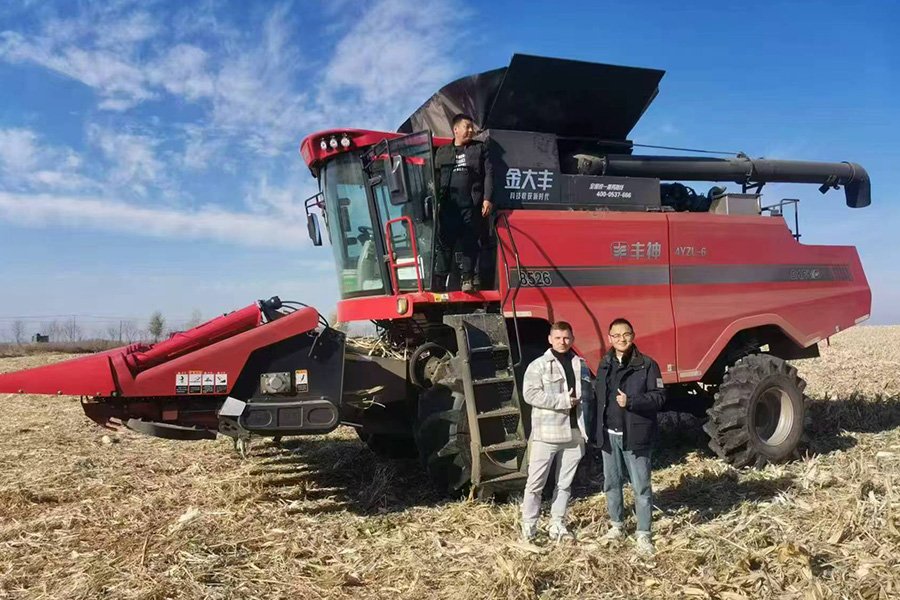
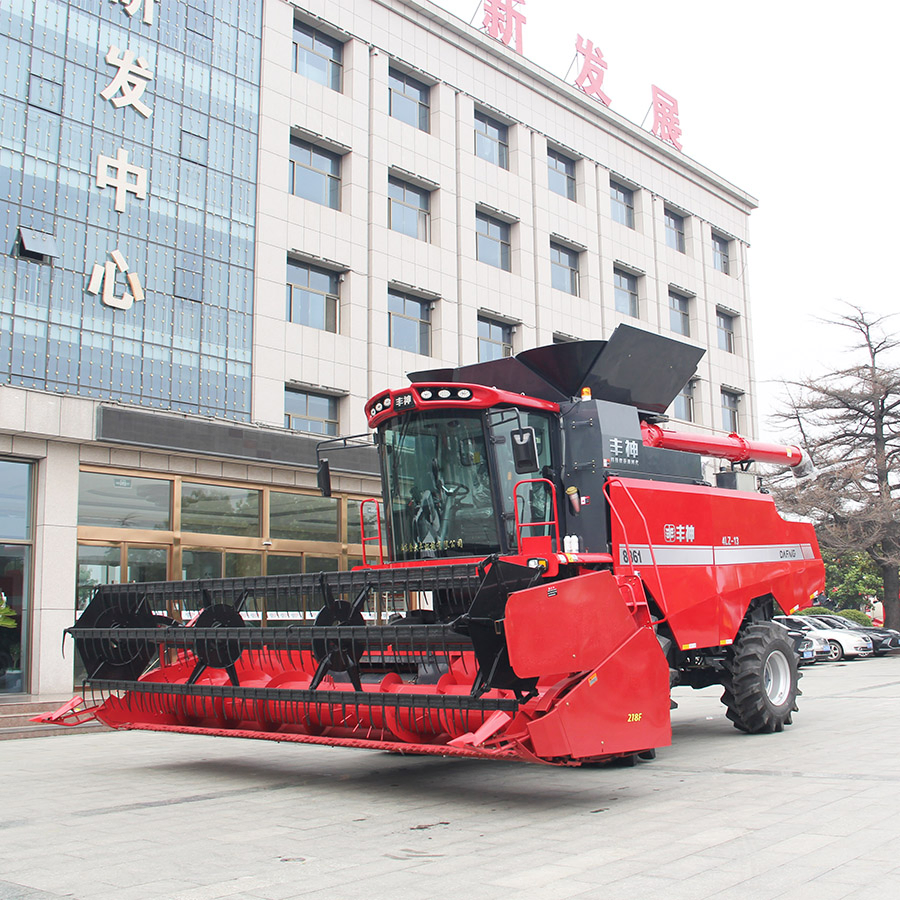
King-Gold Dafeng supplies combine harvesters and other agricultural machinery for overseas markets. Buyers and distributors can review King-Gold Dafeng combine harvester models and discuss maintenance access, crop configurations and spare-parts preparation before ordering.
Frequently Asked Questions
When should pre-season combine maintenance begin?
It should begin early enough to allow time for inspection, parts ordering, repairs and a field test. Starting only a few days before harvest leaves little room to solve unexpected problems.
Should engine oil be changed even if the combine worked few hours last season?
Follow the manufacturer’s service interval, which may consider both operating hours and time. Oil condition can be affected by storage, contamination and moisture even when annual hours are limited.
Which parts most commonly cause harvest delays?
Belts, chains, bearings, cutting parts, filters and hydraulic hoses are common sources of downtime. The exact risk depends on the machine design, crop and maintenance history.
Can maintenance reduce grain loss?
Yes. Sharp cutting components, correctly adjusted feeders, unworn threshing parts and clean sieves all help the machine process the crop more consistently.
Is a workshop test enough before harvest?
No. A workshop test can identify leaks, noise and drive problems, but the machine should also process crop under controlled field conditions before full production begins.
Final Pre-Harvest Checklist
- Clean the machine and remove old crop residue.
- Inspect the header, cutter bar, reel and auger.
- Check the feeder chain, slats and reversing system.
- Inspect threshing and separation components for wear.
- Clean and adjust the fan and sieves.
- Check grain elevators, tank augers and unloading parts.
- Service the engine, filters, cooling system and fluids.
- Inspect belts, chains, pulleys, sprockets and bearings.
- Test hydraulic, electrical and safety systems.
- Prepare common spare parts and service tools.
- Run the combine without crop and check for heat or vibration.
- Complete a controlled field test before full harvesting begins.
A combine harvester should enter the season as a tested machine, not simply a machine that starts. Careful preparation reduces avoidable downtime, protects grain quality and gives the operator more confidence when the harvest window becomes busy.
The time spent inspecting the combine before the season is usually much less than the time lost waiting for a belt, bearing or hydraulic part after the crop is ready.