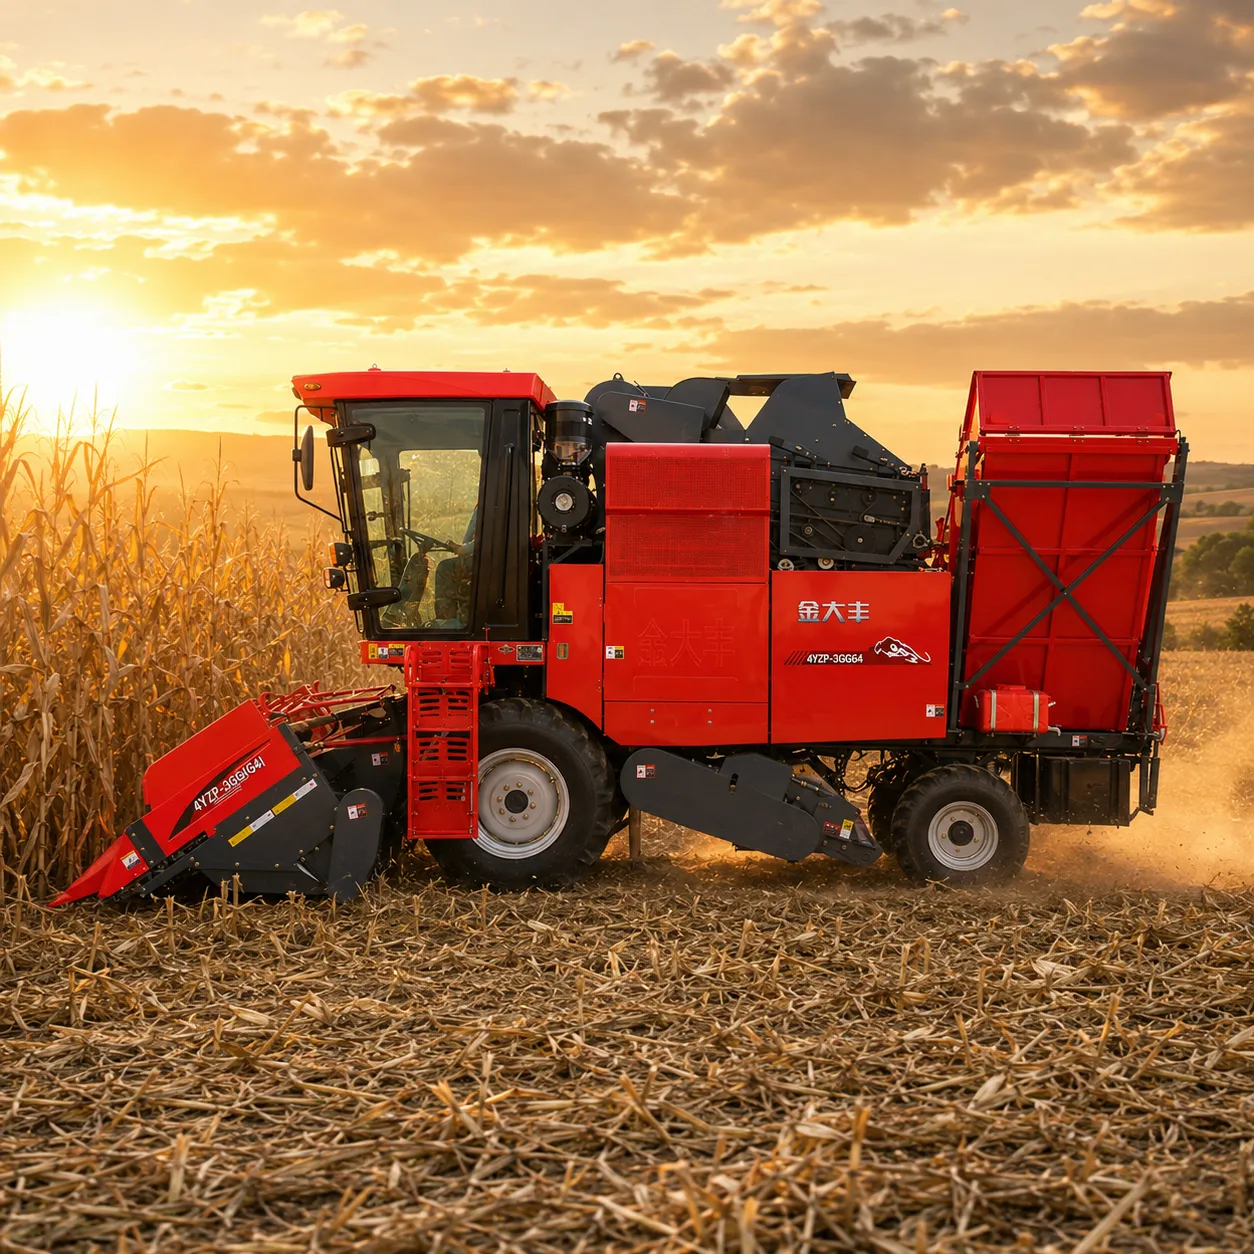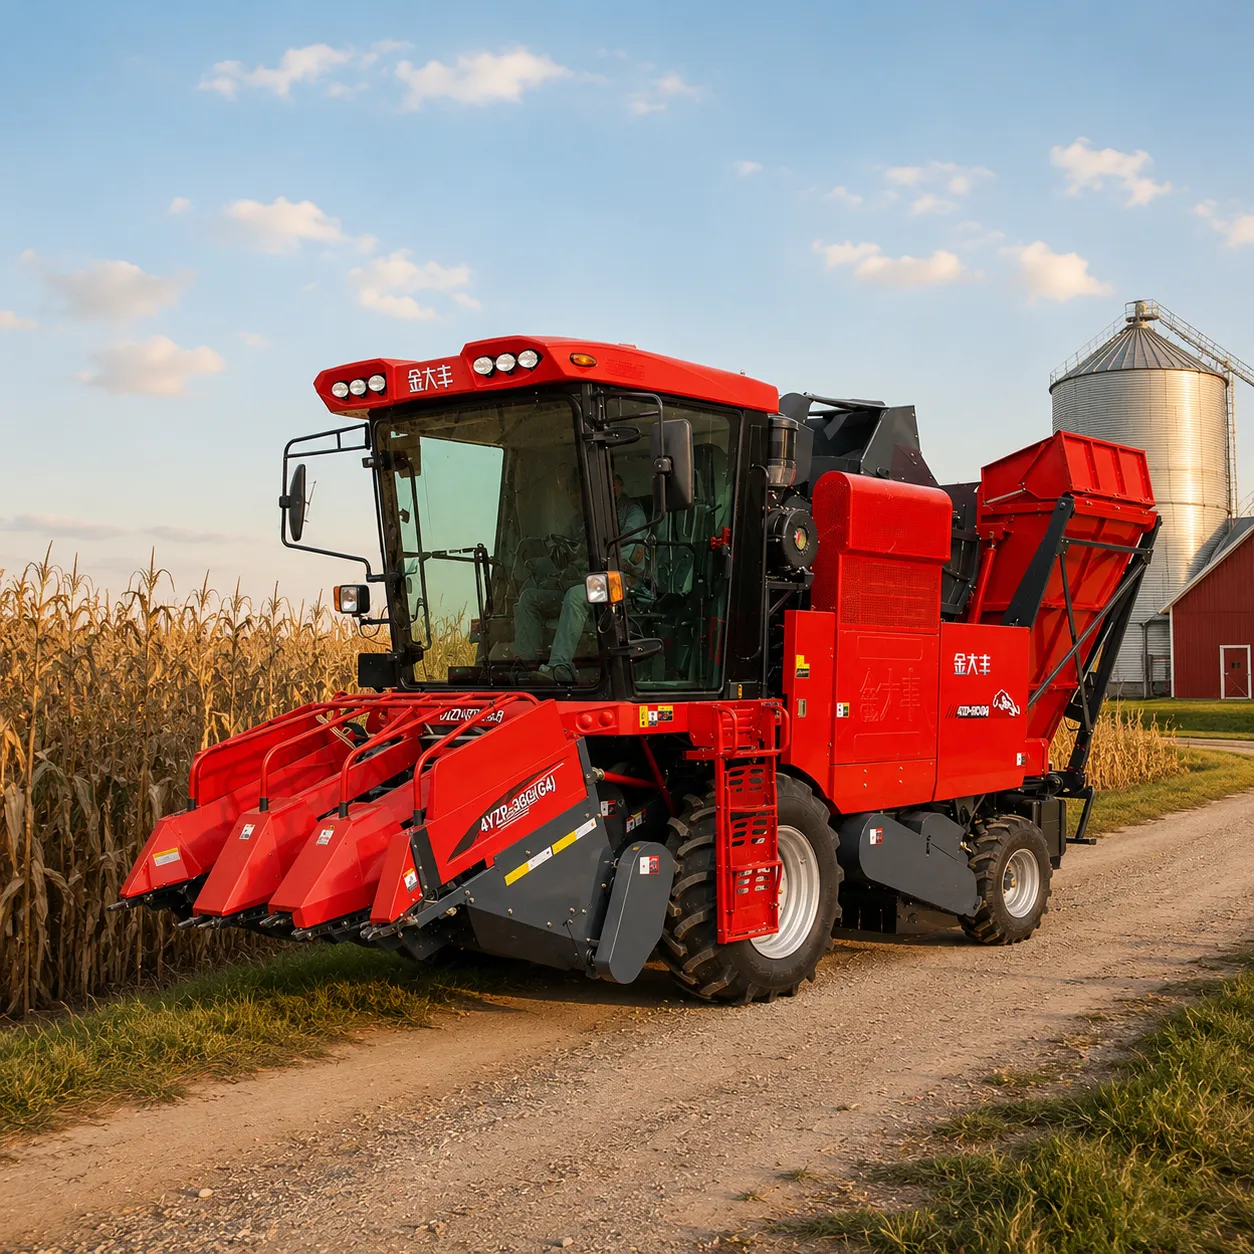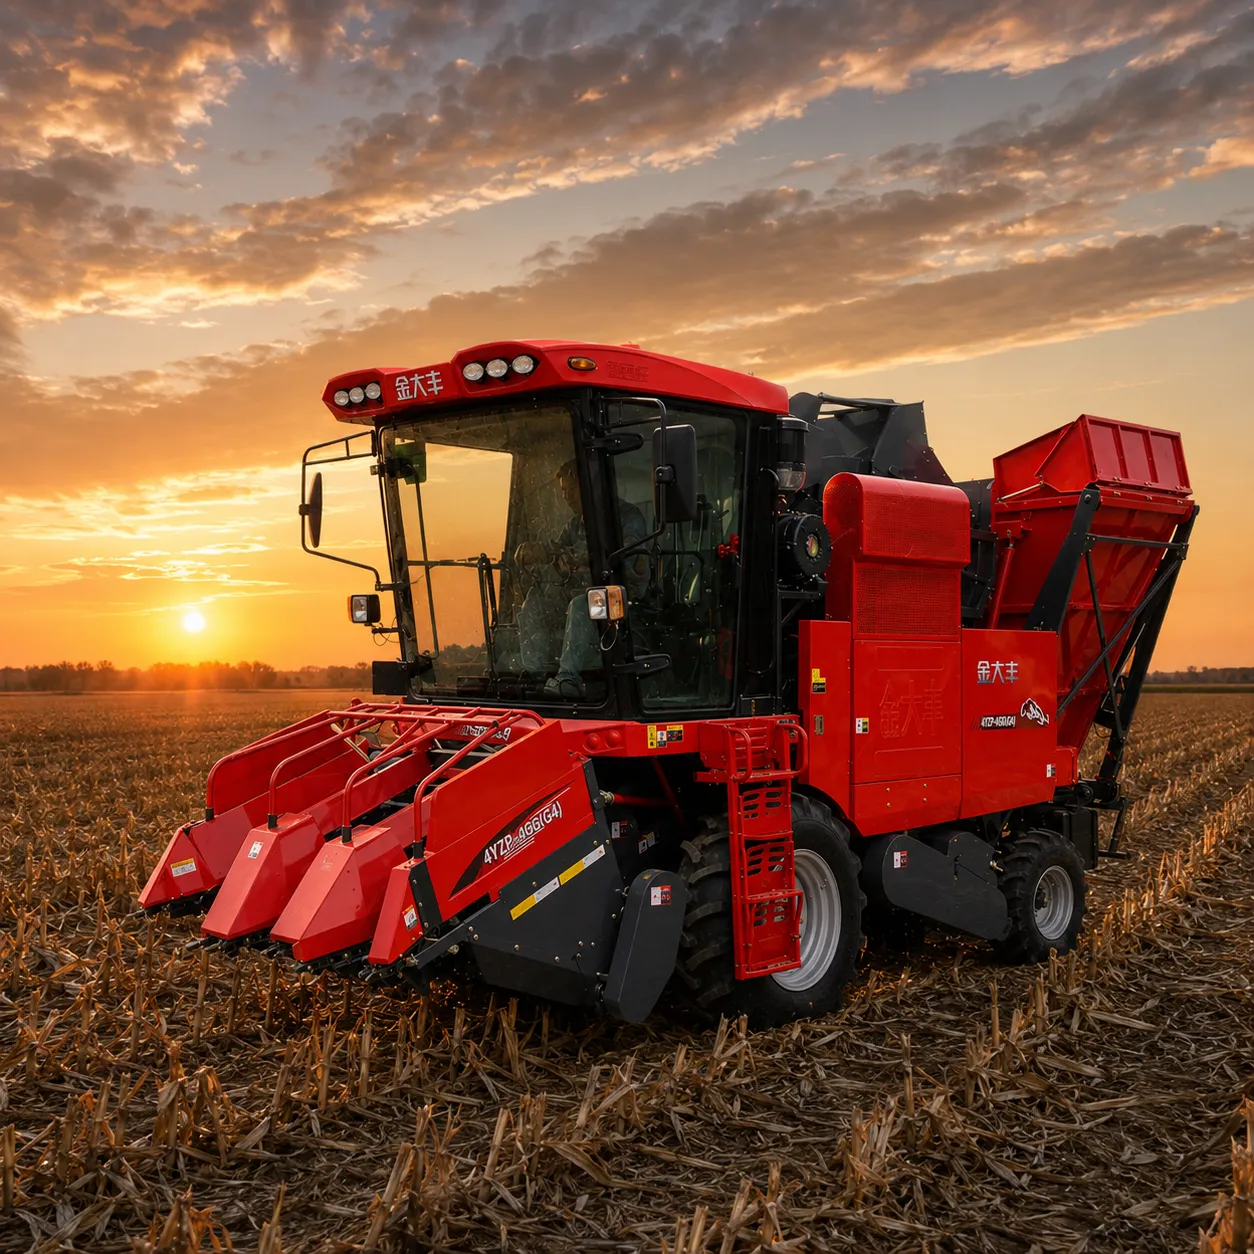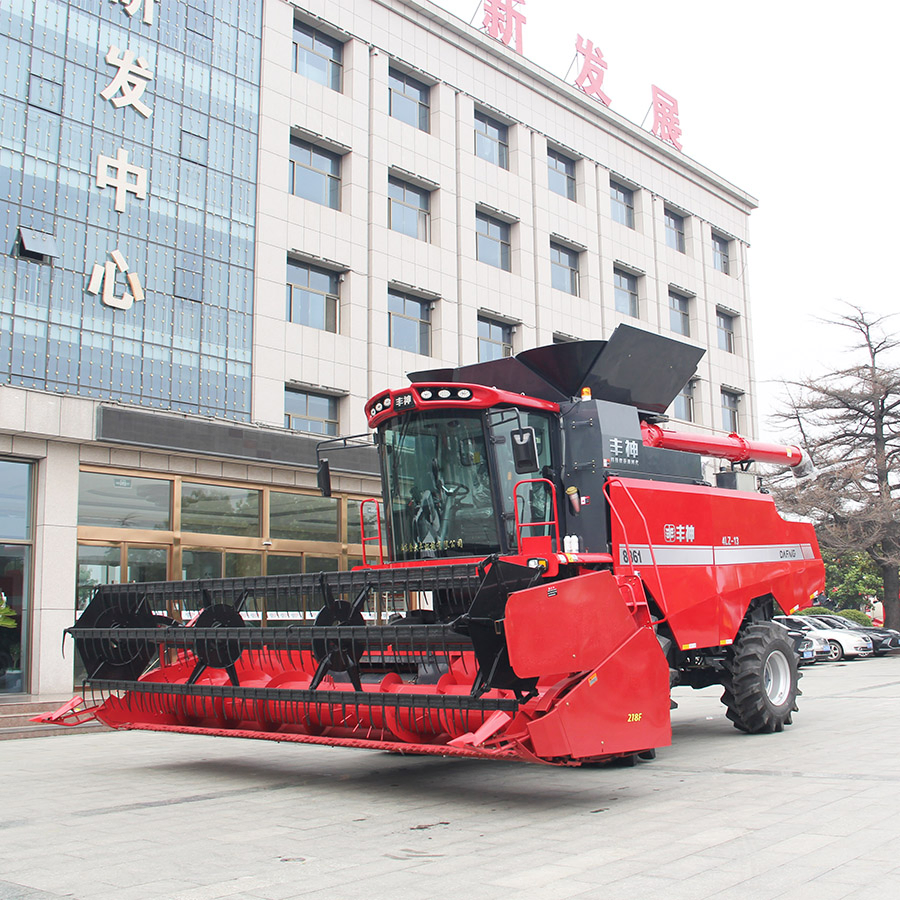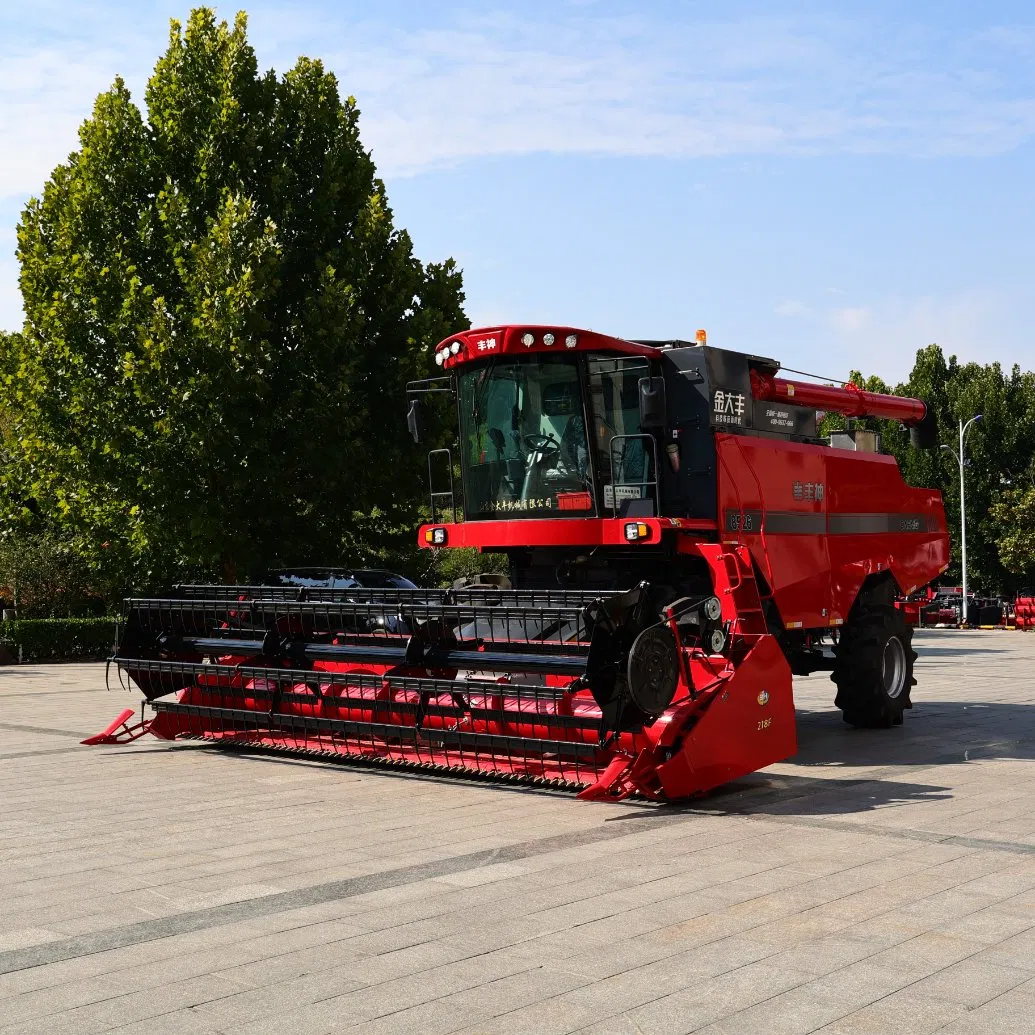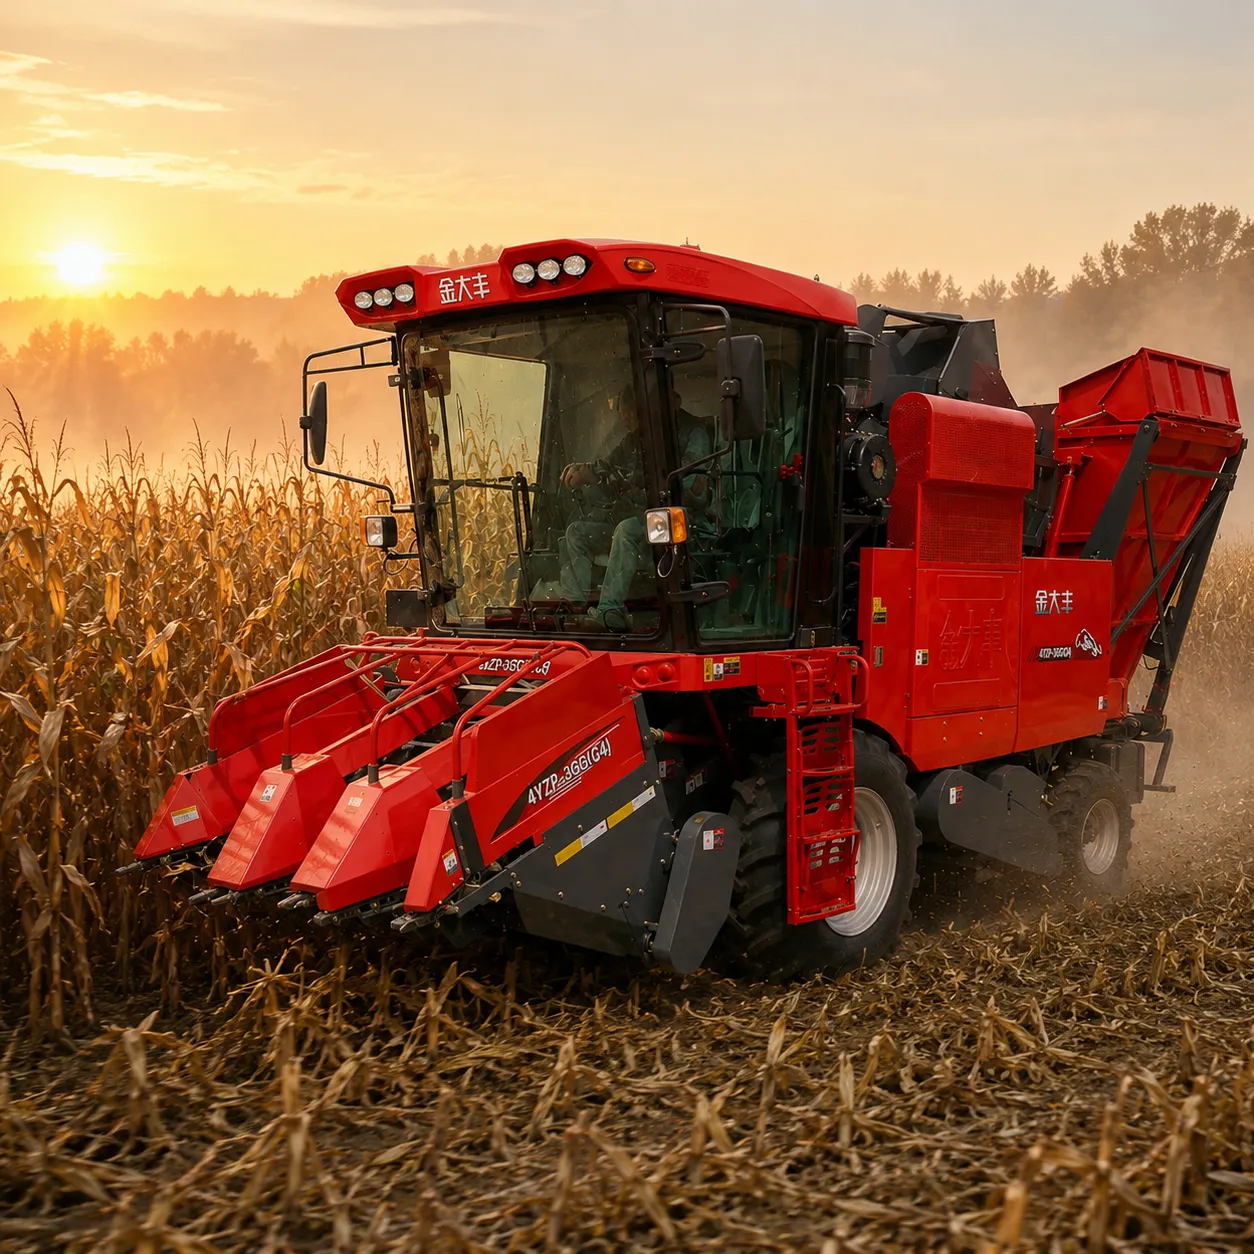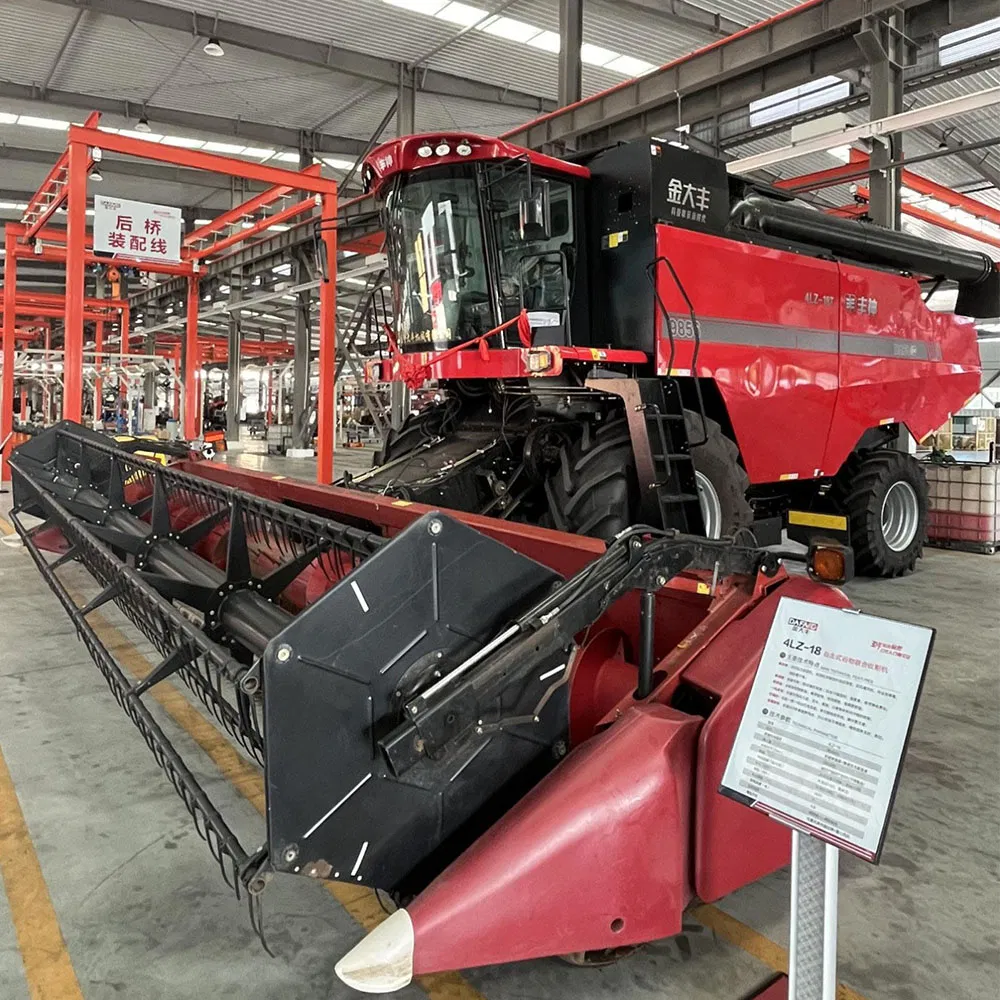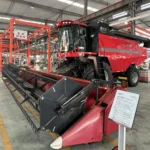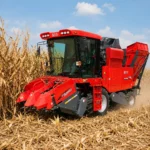
Harvest season is the worst time to discover a damaged bearing, loose chain, blocked radiator, worn cutterbar, or leaking hydraulic hose. Even a small mechanical problem can stop the machine during the most valuable working hours of the year.
Proper combine harvester maintenance should begin before the crop is fully mature. The objective is not only to prevent breakdowns. Pre-season preparation also helps the machine cut more evenly, feed crop smoothly, reduce grain loss, maintain a cleaner grain sample, and operate with fewer interruptions.
A complete inspection should follow the crop path through the machine, starting at the header and finishing at the grain tank, unloading system, engine, and running gear. This makes it easier to find worn components before they affect several systems at once.
Begin Early Enough to Repair What You Find
A quick inspection on the morning harvest begins is not enough. Some replacement parts may need to be ordered, hydraulic hoses may need to be manufactured, and worn components may require professional installation.
A practical maintenance schedule can begin several weeks before the expected harvest date.
| Time Before Harvest | Main Work | Purpose |
|---|---|---|
| Four to six weeks | Complete inspection and identify damaged parts | Allow enough time for ordering and repairs |
| Two to three weeks | Replace worn parts, fluids, filters, belts and chains | Restore basic mechanical condition |
| One week | Run the machine and test all systems | Find leaks, vibration, noise and control problems |
| One or two days | Final lubrication, cleaning and crop settings | Prepare for immediate field operation |
Preparation rule: Finish major repairs before the crop reaches harvest maturity. The last few days should be used for testing and adjustment, not for dismantling the machine.
Previous maintenance records are useful at this stage. Review problems from the last season, parts that were temporarily repaired, repeated blockages, unusual grain loss, and components approaching their recommended replacement interval.
Inspect the Header and Crop-Feeding System
The header is the first part of the combine to contact the crop. Worn cutting components and uneven feeding can reduce working speed before the crop reaches the threshing system.
Check knives, guards and cutterbar alignment
Inspect each knife section for cracks, rounded edges, missing fasteners, and excessive movement. Damaged guards can prevent a clean cutting action and may cause stems to pull or tear instead of cutting smoothly.
Also inspect:
- Cutterbar alignment
- Knife hold-down clips
- Drive head and connecting components
- Skid plates
- Crop dividers
- Header-height sensors
A poorly maintained cutterbar may leave uncut crop, create vibration, and force the operator to reduce forward speed.
Inspect the reel and feeding auger
Check reel fingers, bearings, support arms, drive chains, hydraulic hoses, and adjustment mechanisms. The reel should move smoothly through its full height and fore-and-aft range.
Inspect the header auger or conveyor system for bent flights, damaged belts, worn bearings, and incorrect clearances. Uneven feeding at the header can create repeated crop surges through the entire combine.
Inspect the feeder house
Check feeder chains, slats, sprockets, bearings, tension, floor condition, and drive components. Loose or uneven feeder chains may damage the feeder housing and create unstable crop flow.
Do not ignore feeding problems: A combine may have sufficient engine power and threshing capacity, but it will still perform poorly when crop enters the machine in irregular bunches.
Examine the Threshing and Separation Components
The threshing system releases grain from heads, pods, or ears. Worn bars, damaged concaves, blocked grates, or incorrect clearances can increase unthreshed grain and kernel damage.
Inspect the rotor or cylinder
Look for worn rasp bars, loose bolts, bent components, missing hardware, accumulated material, and signs of uneven contact. Compare wear across the full width or length of the threshing section.
Uneven wear can cause different threshing intensity across the machine, leading to inconsistent grain quality.
Check the concave and separator grates
Inspect concave wires, bars, mounting points, adjustment mechanisms, and clearance indicators. Damaged or blocked openings reduce the area available for grain to pass through.
Separator grates and straw walkers should also be checked for:
- Cracks
- Loose fasteners
- Blocked openings
- Worn bearings
- Damaged seals
- Excessive movement
Effective combine harvester maintenance should restore these systems before crop testing begins. Adjustments cannot compensate for seriously worn or damaged threshing components.
Turn the system manually where possible
With the machine safely shut down and following the manufacturer’s procedure, rotate accessible components to check for contact, restriction, abnormal resistance, and noise.
Any rubbing or interference should be corrected before the engine is started.
Clean and Test the Grain-Cleaning System
The cleaning shoe removes chaff, broken straw, husks, and light material before grain reaches the tank. Airflow and sieve performance depend on clean, undamaged components.
Remove old residue
Old grain, dust, nests, chaff, and compacted residue can restrict airflow and attract moisture or pests. Clean the grain pan, fan area, upper sieve, lower sieve, return system, grain elevator, and surrounding passages.
Inspect the fan
Check fan blades for damage, buildup, cracks, and imbalance. Inspect bearings, belts, pulleys, tensioners, and adjustment controls.
A damaged or restricted fan may produce uneven airflow, making it difficult to maintain both clean grain and low field loss.
Inspect the sieves
Confirm that sieve sections open and close evenly. Bent louvers, damaged frames, worn linkage, and loose mounting points can create inconsistent cleaning across the shoe.
| Component | Problem to Look For | Possible Harvest Effect |
|---|---|---|
| Cleaning fan | Damaged blades or worn belt | Weak or uneven airflow |
| Upper sieve | Bent or blocked openings | Higher grain loss or poor capacity |
| Lower sieve | Uneven adjustment | Dirty grain or excessive returns |
| Return system | Worn auger or blockage | Reduced capacity and grain damage |
| Cleaning-shoe seals | Air leakage | Reduced cleaning performance |
After cleaning and inspection, operate the adjustment controls through their full range. Settings should move freely and remain in the selected position.
Check Belts, Chains, Bearings and Lubrication Points
Belts and chains transmit power to nearly every harvesting system. A worn drive component may continue operating during a short test but fail under full crop load.
Belts: Look for cracking, glazing, frayed edges, missing sections, contamination, and incorrect tension. Confirm that pulleys are aligned and free from damage.
Chains: Check tension, lubrication, stiff links, sprocket wear, side movement, and chain elongation. Replace worn chains and sprockets as a matched system where necessary.
Bearings: Inspect for looseness, rough movement, heat damage, leaking seals, unusual noise, and discoloration. Bearings that feel questionable before harvest should not be expected to survive a full season.
Lubricate every listed grease point according to the service schedule. Missing one difficult-to-reach fitting can lead to expensive damage during the season.
Good combine harvester maintenance also includes checking automatic lubrication systems, grease lines, fittings, reservoirs, and warning indicators where installed.
Service the Engine, Cooling and Hydraulic Systems
Harvesting places a high continuous load on the engine. Dust, chaff, high temperatures, and long working hours can quickly expose weak cooling or filtration systems.
Engine and fuel system
Follow the recommended service interval for:
- Engine oil
- Oil filter
- Fuel filters
- Air filters
- Fuel-water separator
- Coolant
Inspect fuel lines, clamps, hoses, tanks, and connections for leaks. Contaminated fuel can stop the combine even when all harvesting components are in good condition.
Cooling system
Clean radiators, screens, coolers, and air passages. Check fan belts, fan blades, coolant hoses, clamps, and coolant level.
During harvest, dry residue can block cooling surfaces quickly. The operator should be able to access and clean these areas safely and regularly.
Hydraulic system
Inspect hoses for cracks, abrasion, swelling, and leaks. Check cylinders, fittings, pumps, reservoirs, and hydraulic filters.
Test header lift, reel adjustment, steering, unloading auger movement, transmission controls, and other hydraulic functions under normal operating pressure.
Hydraulic safety: Never check suspected hydraulic leaks with bare hands. High-pressure fluid can penetrate the skin and cause serious injury.
Inspect the Grain Tank, Elevators and Unloading System
Clean grain must move from the cleaning shoe to the tank and then unload quickly into a trailer or grain cart. Worn elevator chains and unloading components can create grain damage, leakage, and long delays.
Clean-grain and return elevators
Inspect chains, paddles, sprockets, bearings, housings, inspection covers, and tension. Worn paddles may reduce capacity, while loose chains can damage the elevator housing.
Grain tank
Remove old grain and inspect the tank floor, sensors, covers, extensions, access points, and safety guards.
Test grain-level sensors and confirm that tank covers and extensions move and lock correctly.
Unloading auger
Inspect:
- Auger flighting
- Gearboxes
- Bearings
- Drive chains or belts
- Hydraulic folding system
- Discharge spout
- Safety shields
Run the unloading system empty and listen for vibration, scraping, or abnormal mechanical noise. Confirm that the auger folds, unfolds, and returns to its transport position correctly.
Complete a Full Test Before Entering the Field
After repairs and servicing are complete, operate the combine in a safe open area. Do not wait until the first crop enters the header to test every function.
During the test, check:
- Engine temperature and warning lights
- Header lift and tilt
- Reel speed and position
- Threshing-system engagement
- Fan and sieve controls
- Grain tank sensors
- Unloading auger operation
- Steering and brakes
- Transmission response
- Lighting, camera and cab controls
Listen for unusual noise and check for leaks, vibration, overheating, belt movement, chain movement, and loose guards.
Prepare starting settings for the crop
Use the machine manual and previous harvest records to select starting settings for:
- Rotor or cylinder speed
- Concave clearance
- Fan speed
- Upper sieve opening
- Lower sieve opening
- Header height
- Reel position
These are only starting points. Final settings must be checked after the machine harvests a representative section of crop.
First-field routine: Harvest a short distance, stop safely, inspect grain in the tank, check residue behind the machine, measure visible grain loss, and adjust only one system at a time.
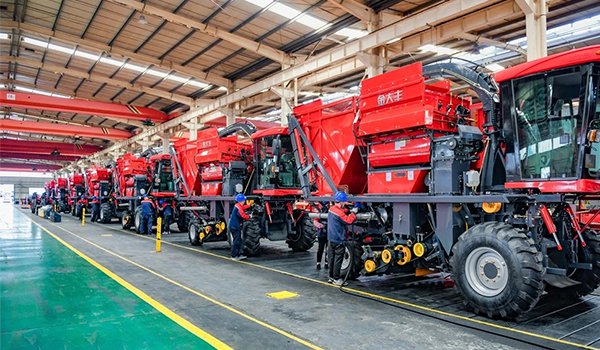
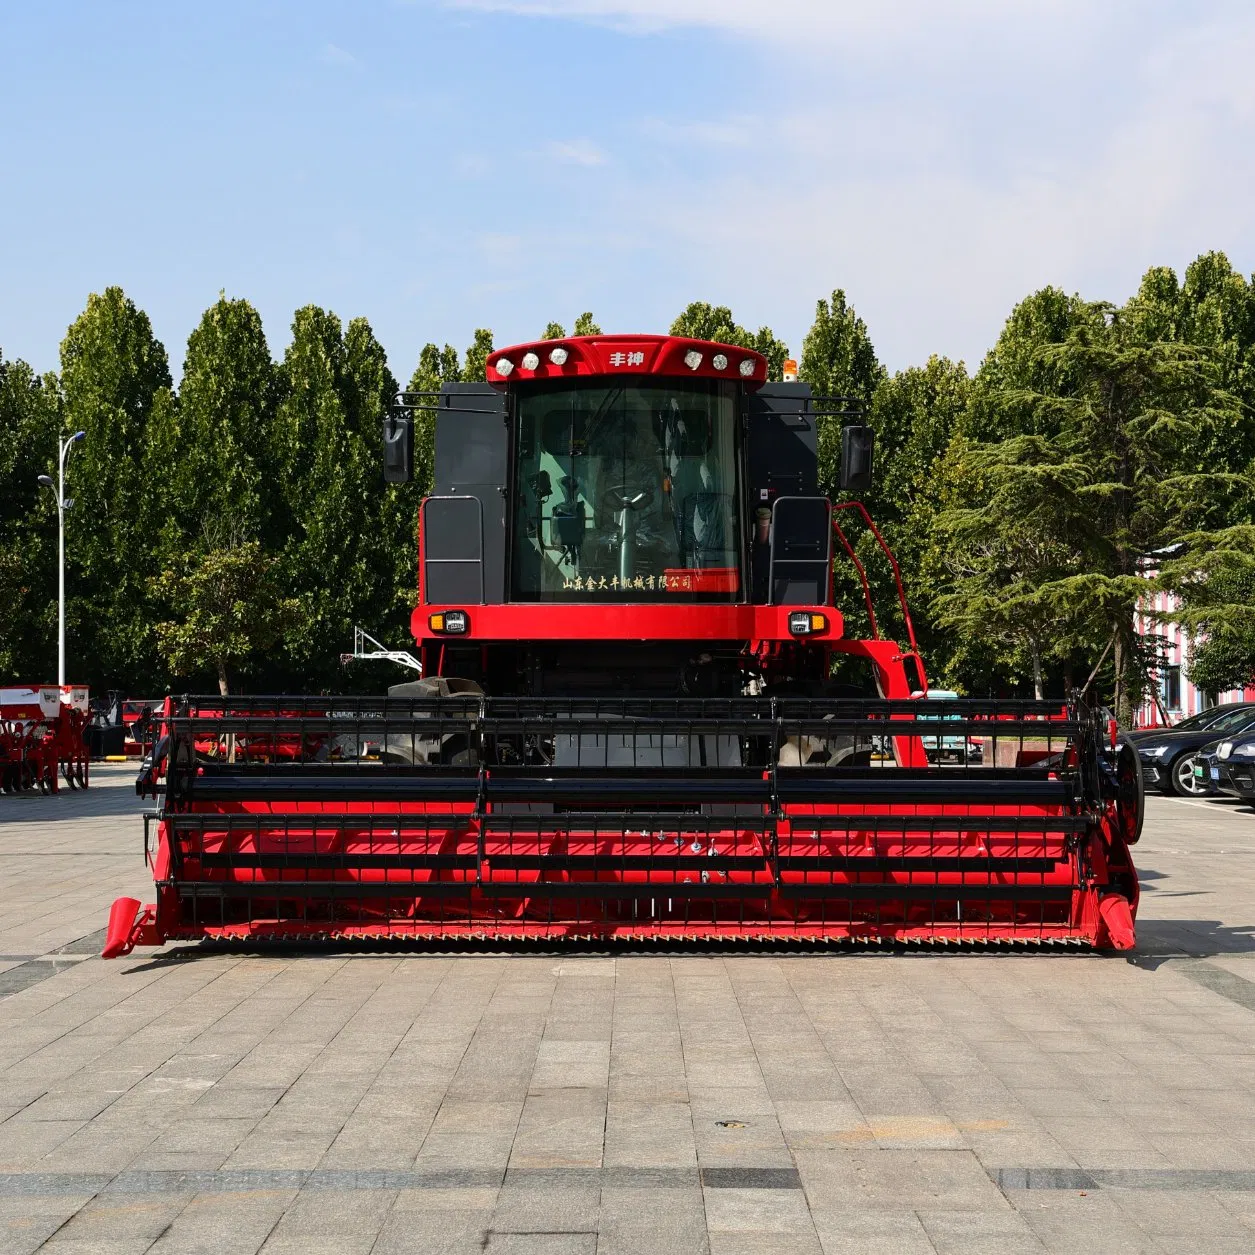
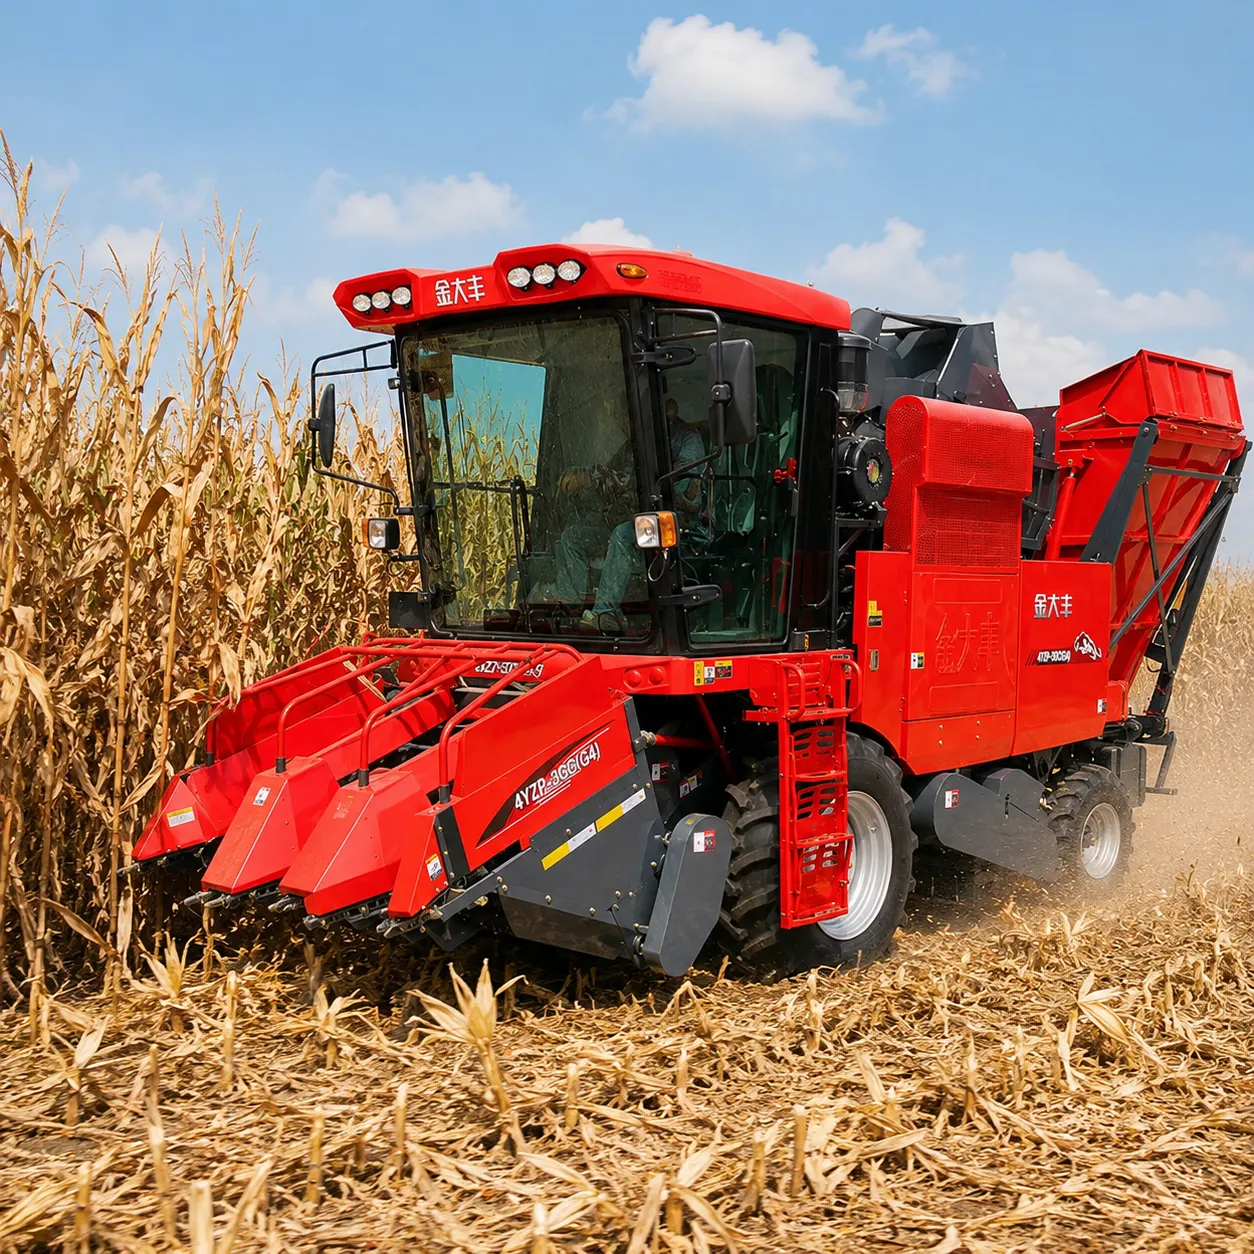
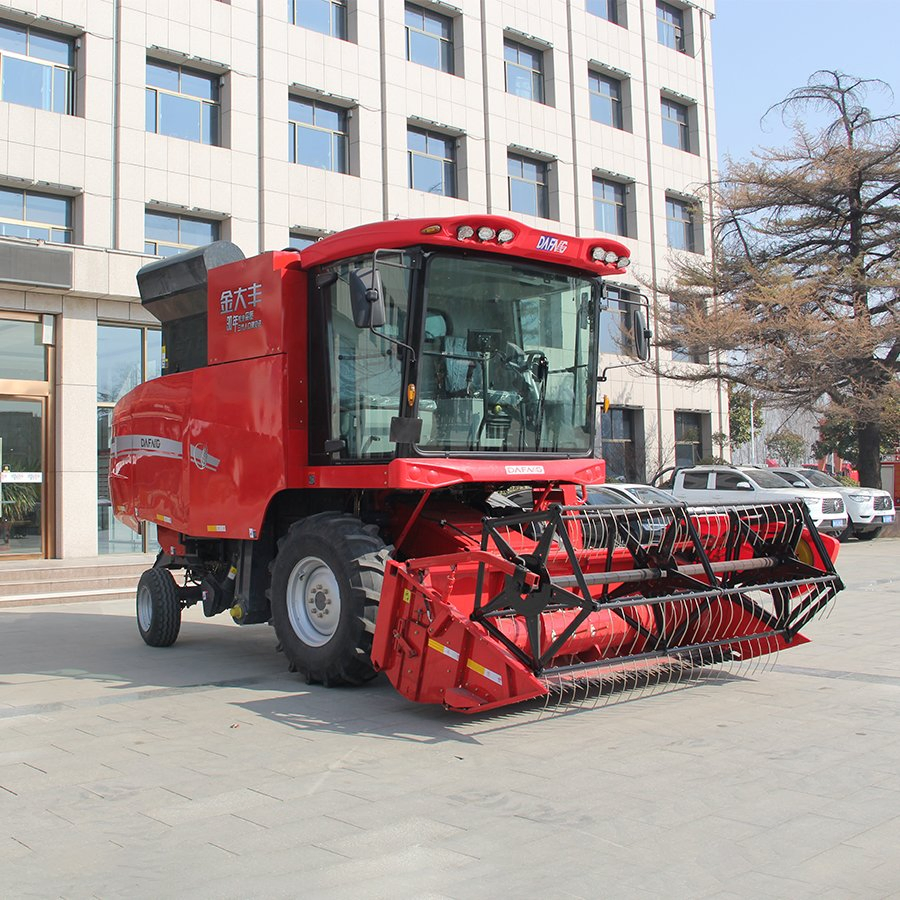
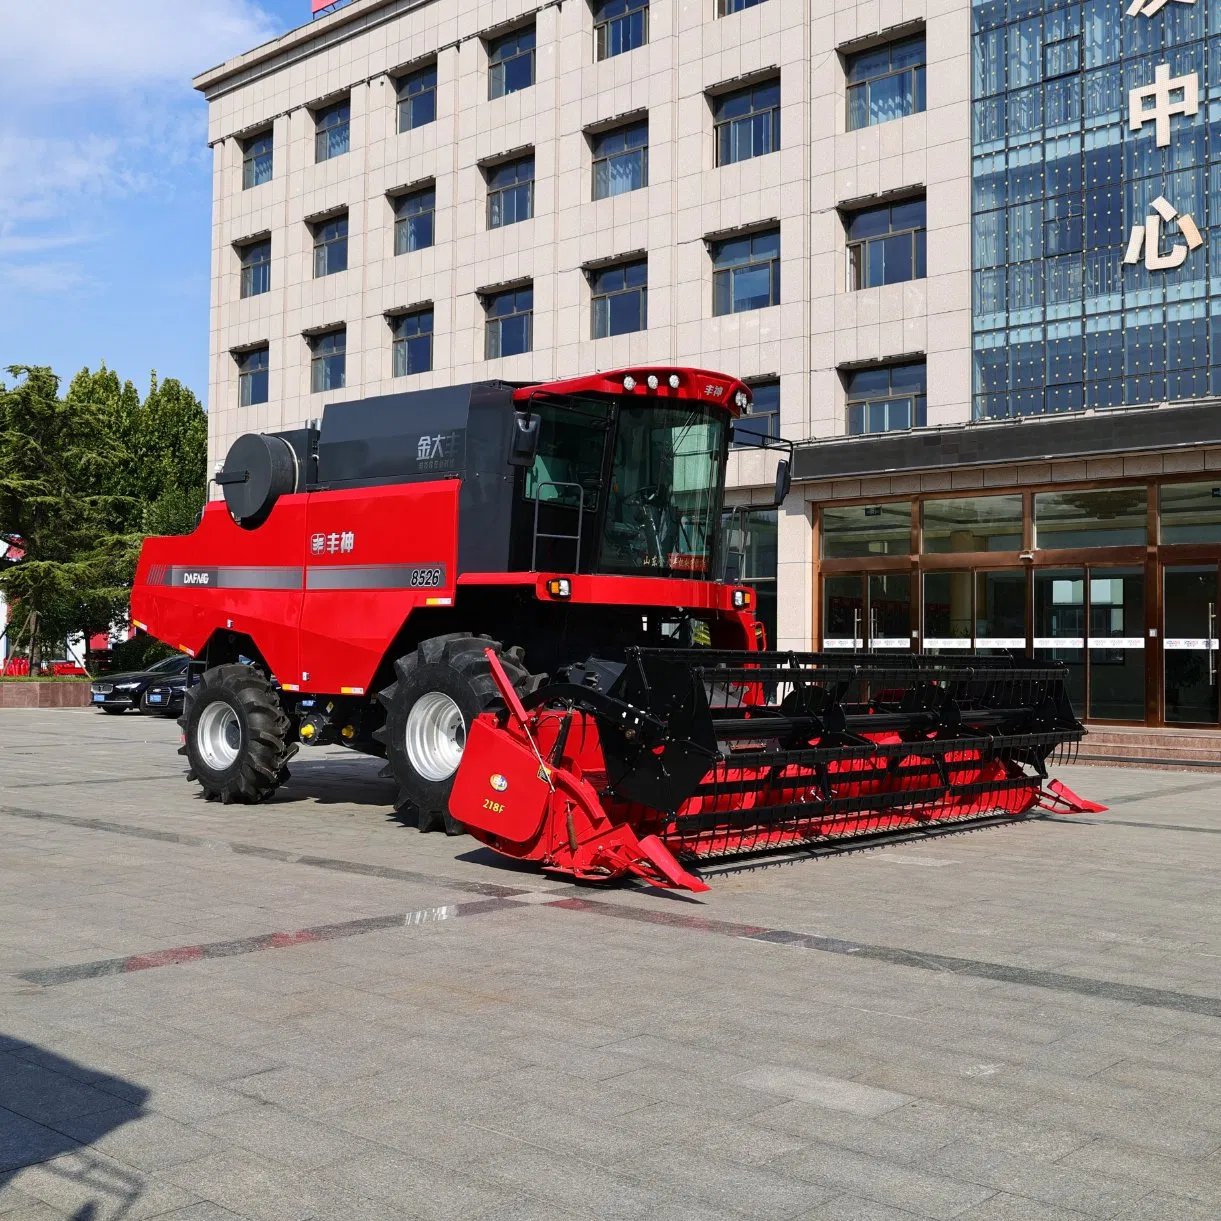
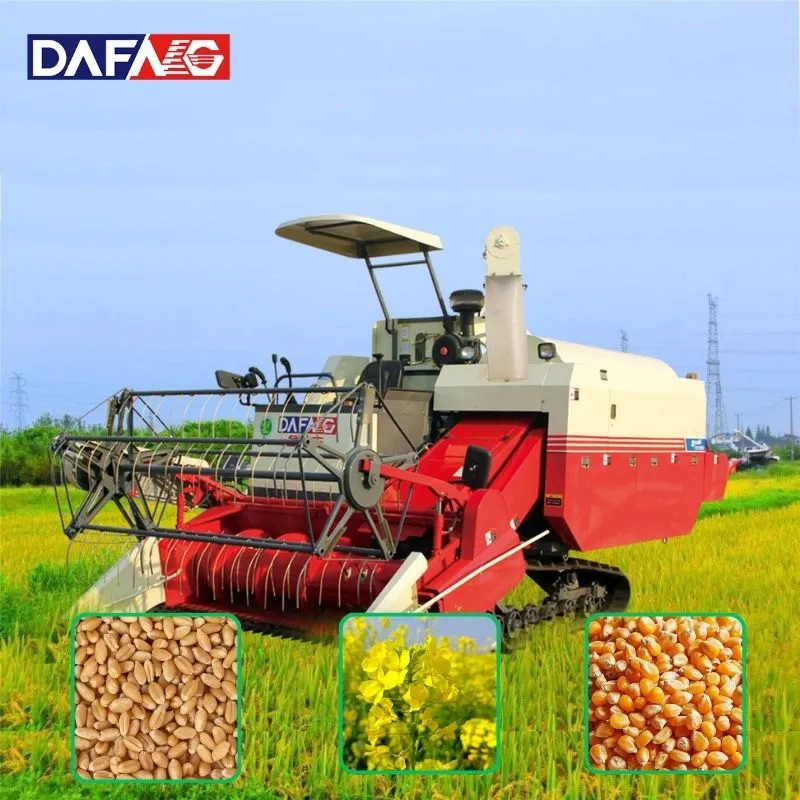
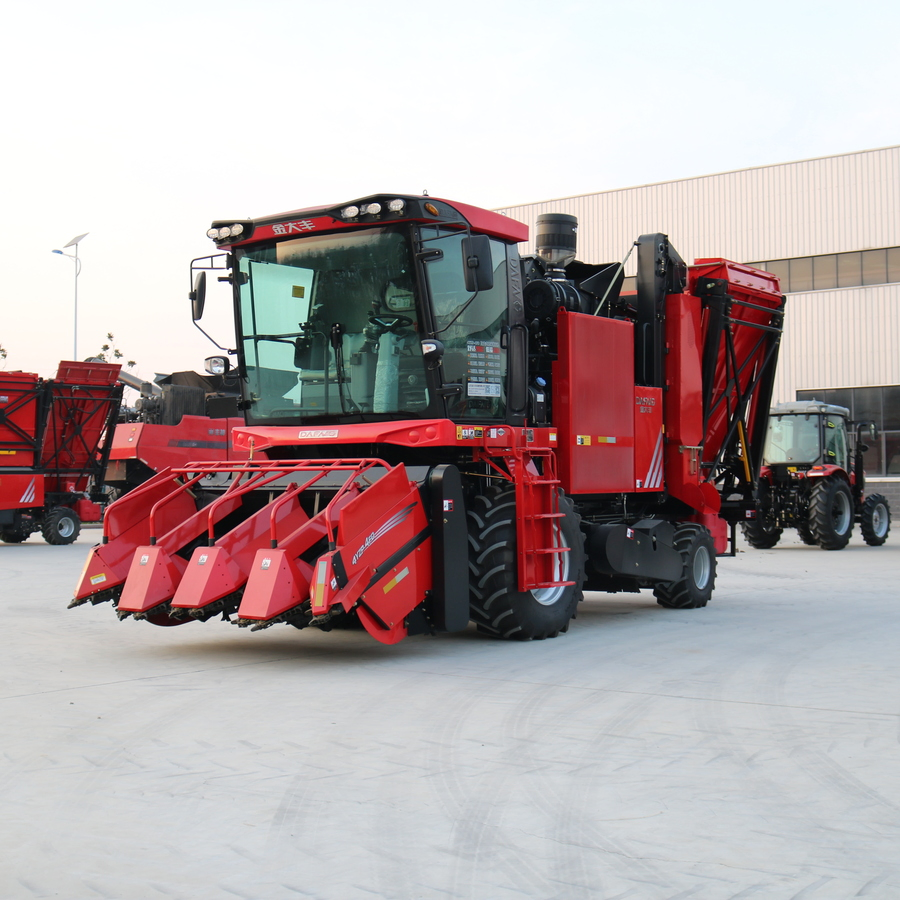
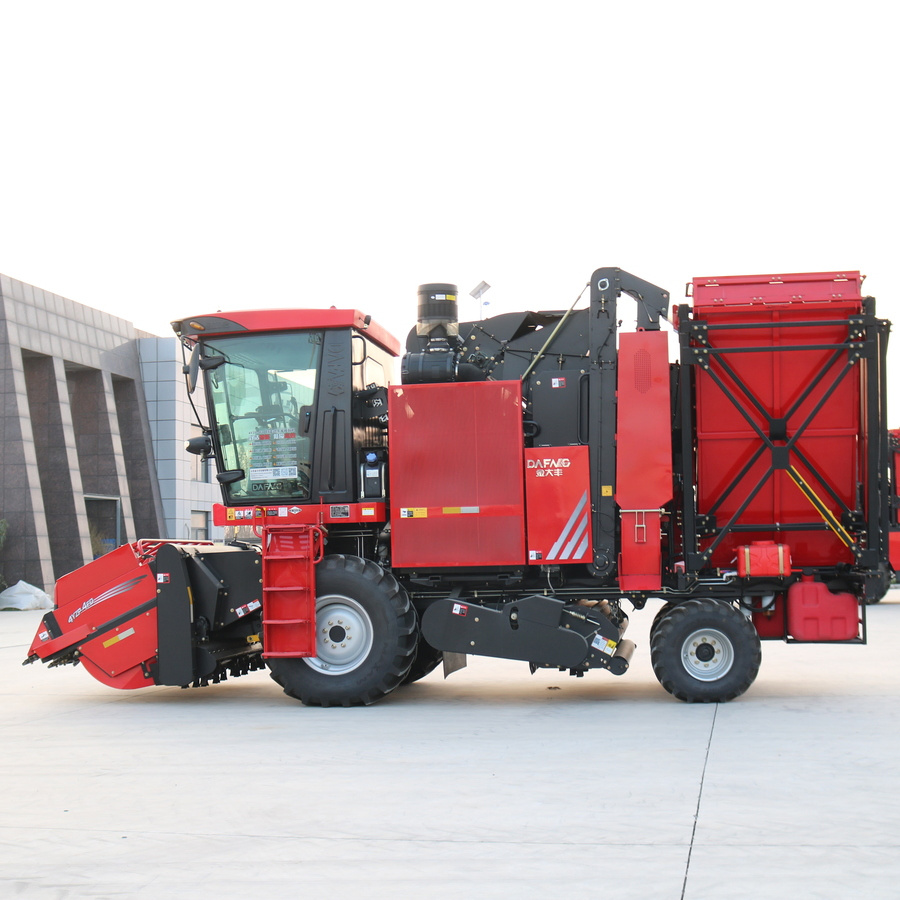
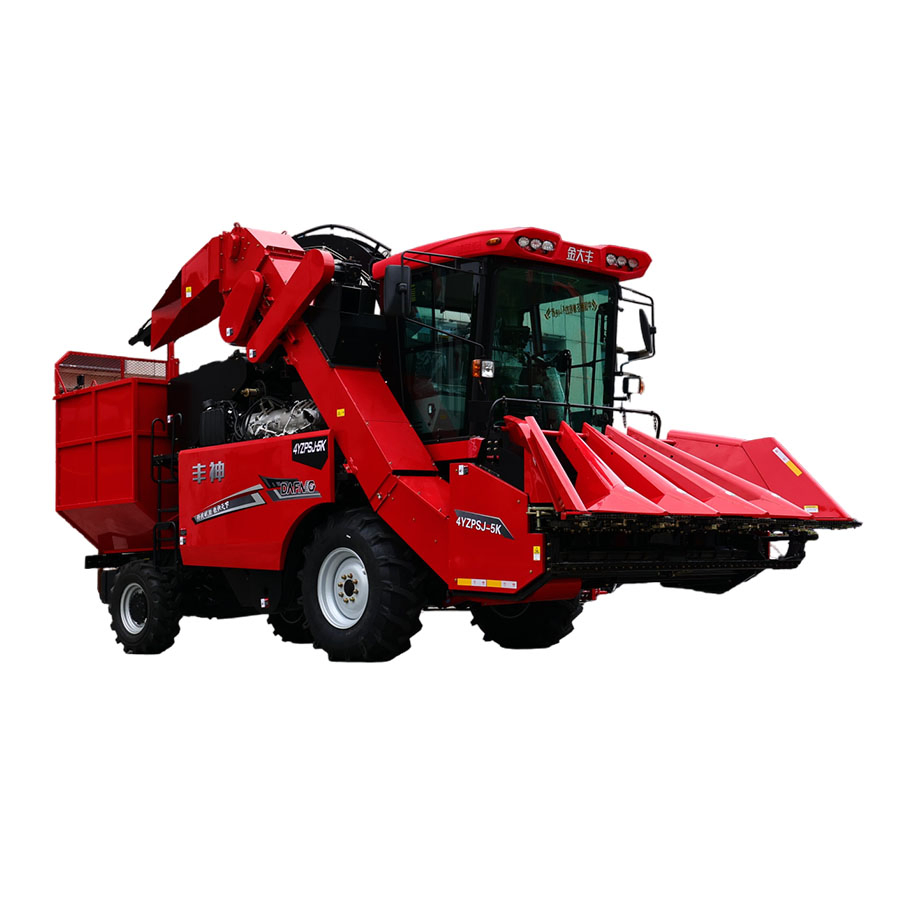
Farmers and machinery buyers can review the available combine harvester maintenance considerations across King-Gold Dafeng grain harvesting equipment for wheat, rice, corn, soybeans, and other crops.
Machine selection should include access to service points, common replacement parts, filters, belts, chains, bearings, knives, guards, and technical support. Easy maintenance access can protect more harvesting time than a small difference in maximum engine power.
Pre-season preparation cannot prevent every failure, but it greatly reduces avoidable downtime. A clean, lubricated, correctly adjusted, and fully tested machine is more likely to maintain steady crop flow, low grain loss, and reliable daily output.
Consistent combine harvester maintenance also makes field diagnosis easier. When mechanical condition is known to be good, operators can focus on crop settings instead of wondering whether worn parts are causing poor performance.